Build with Mem0
Universal, self-improving memory layer for LLM applications.
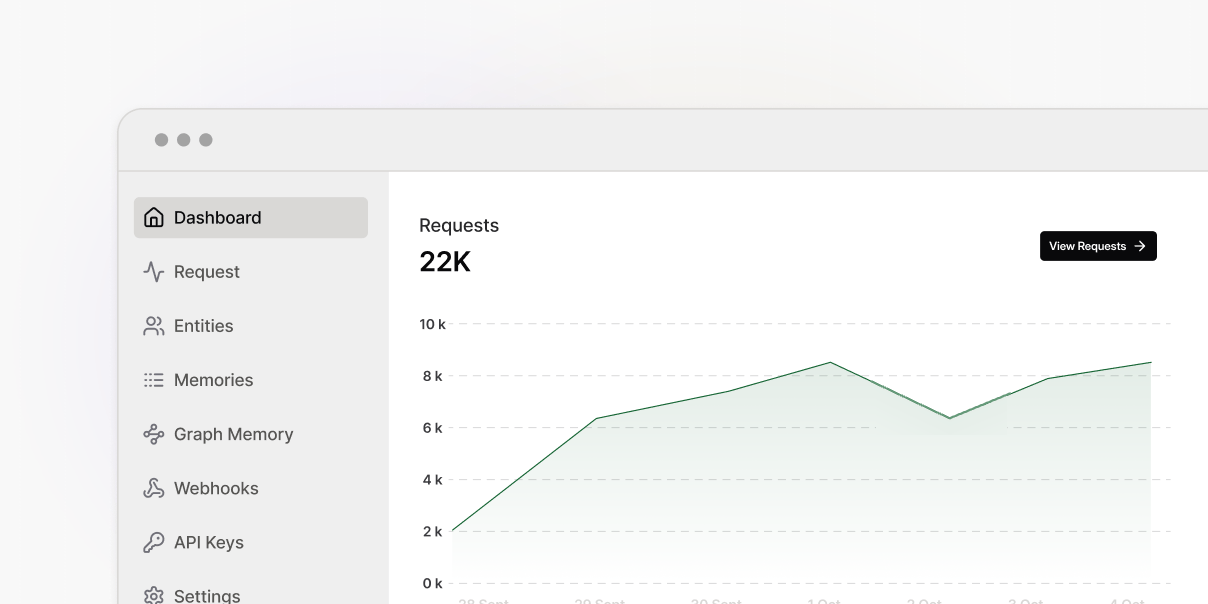
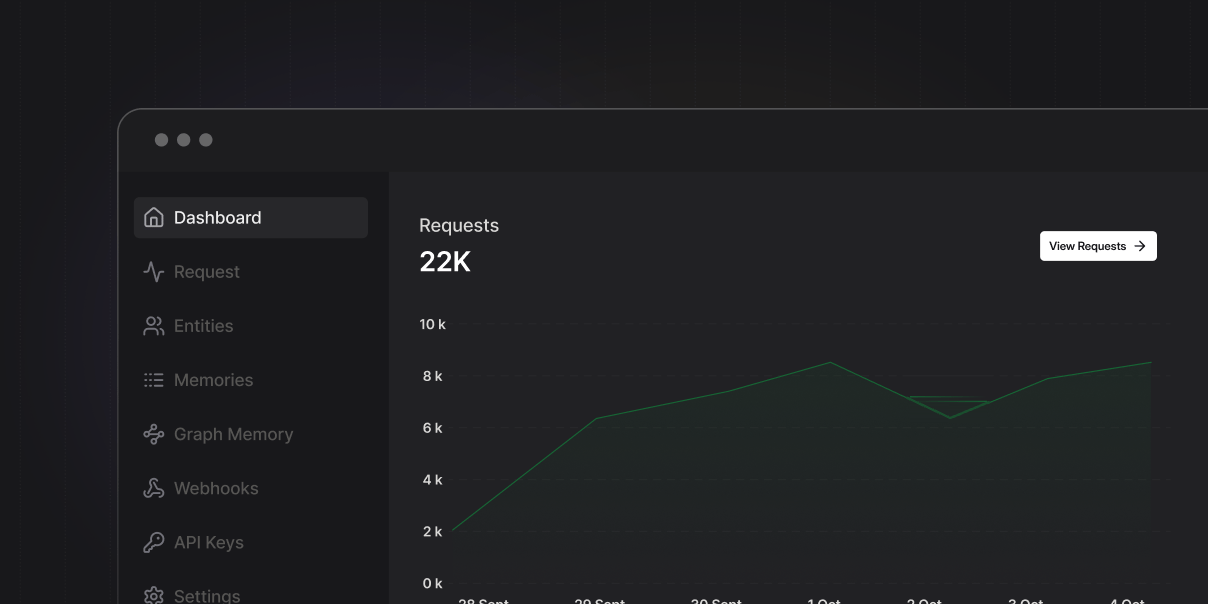
Add memory to your app
Start with the quickstart and store your first memory in minutes.
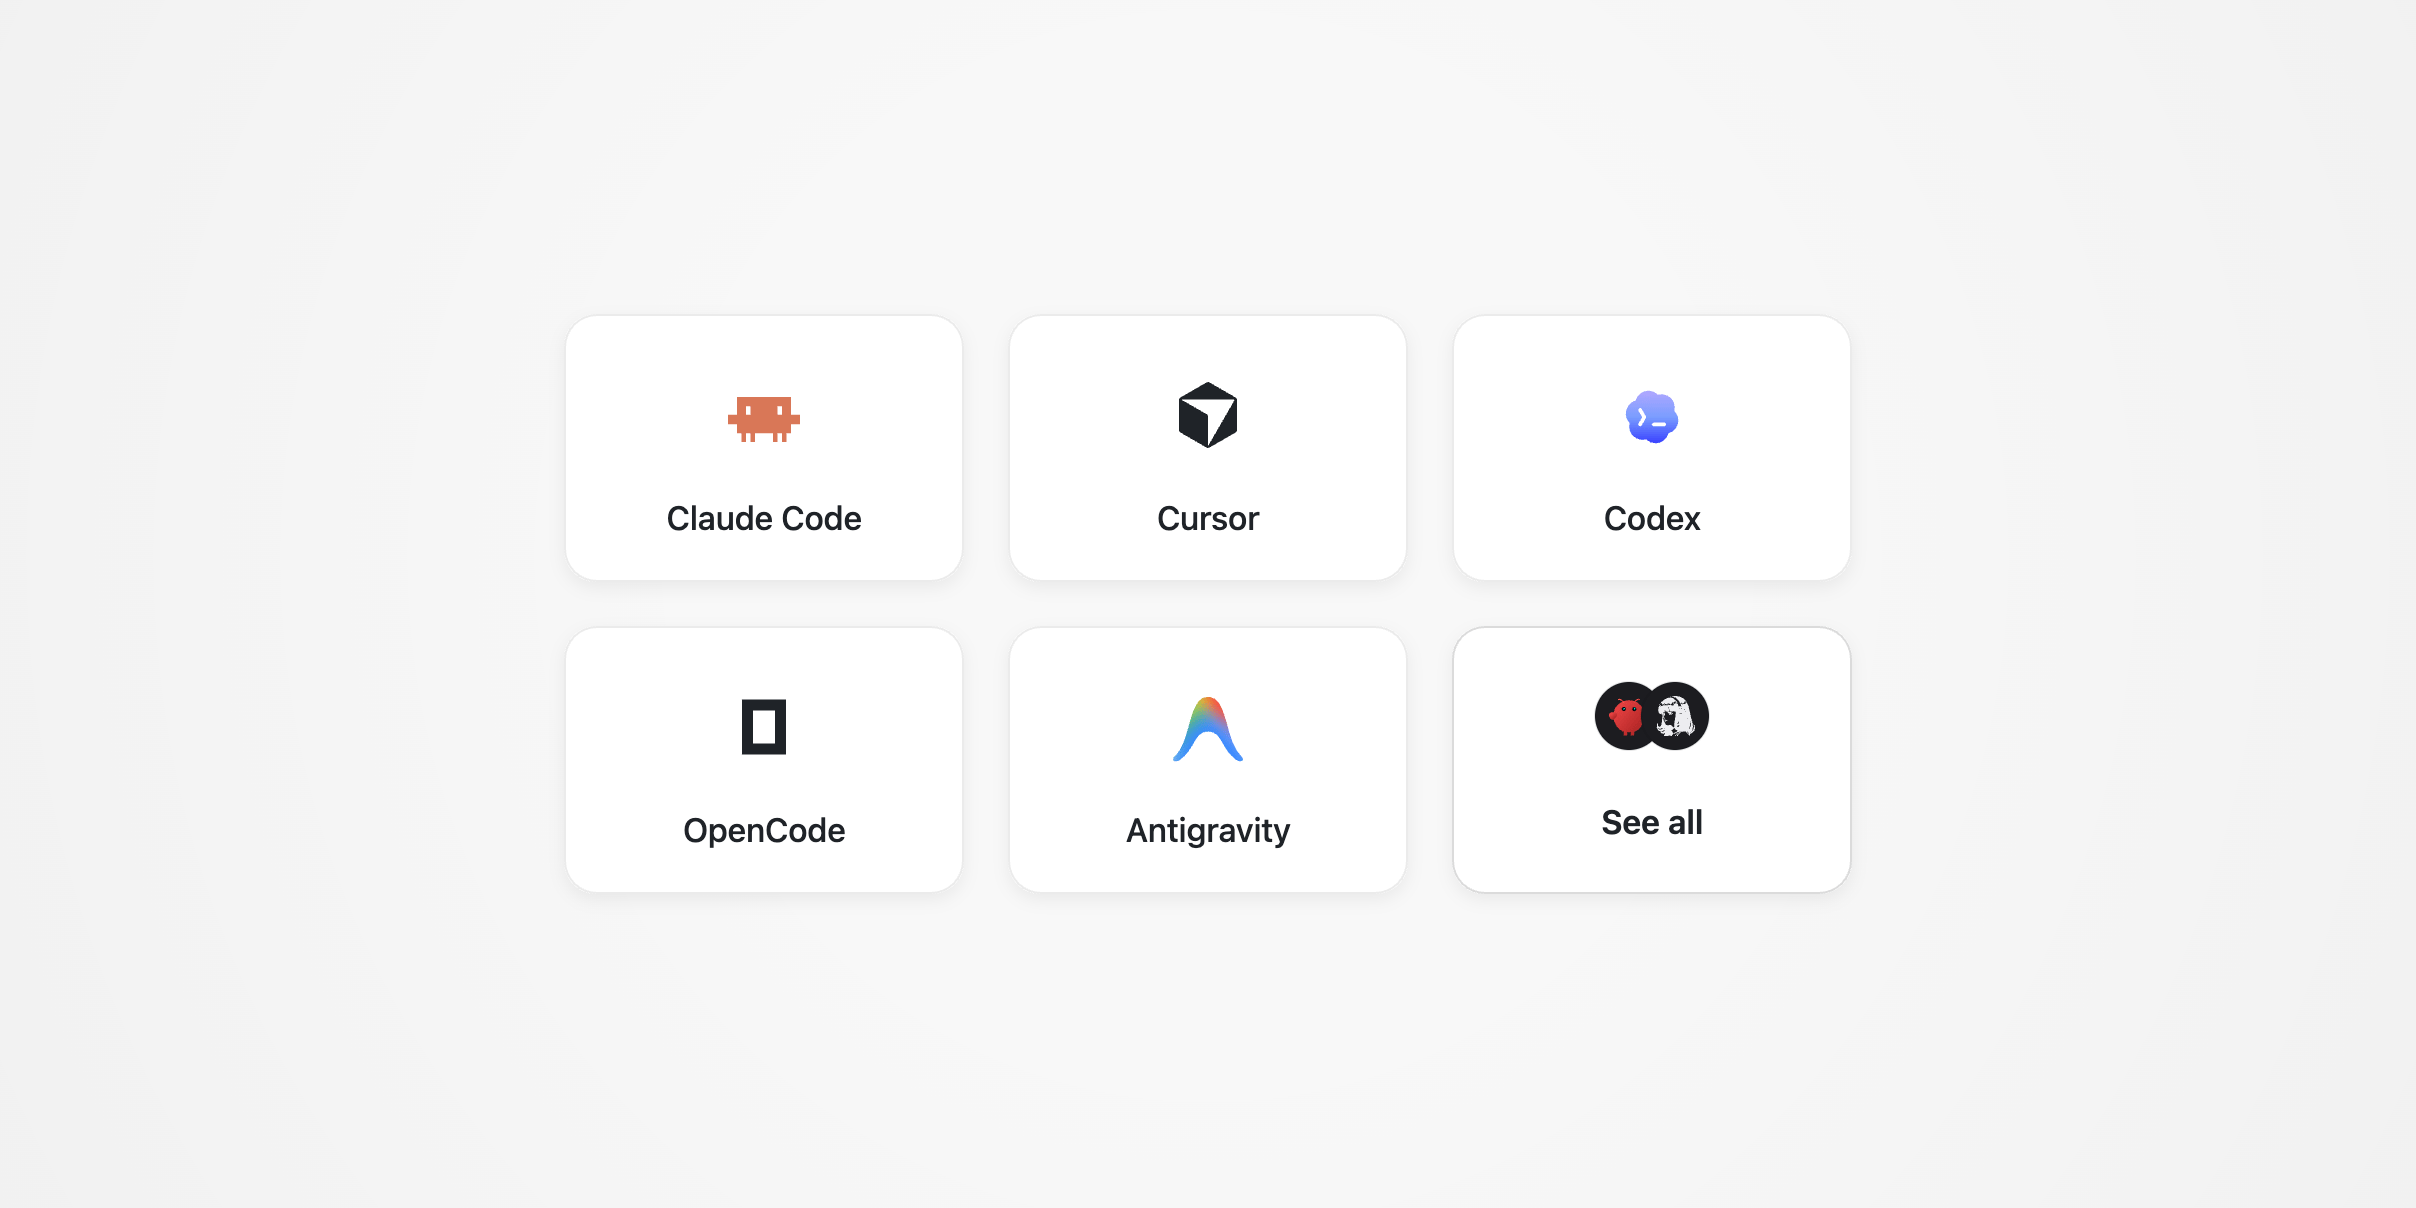
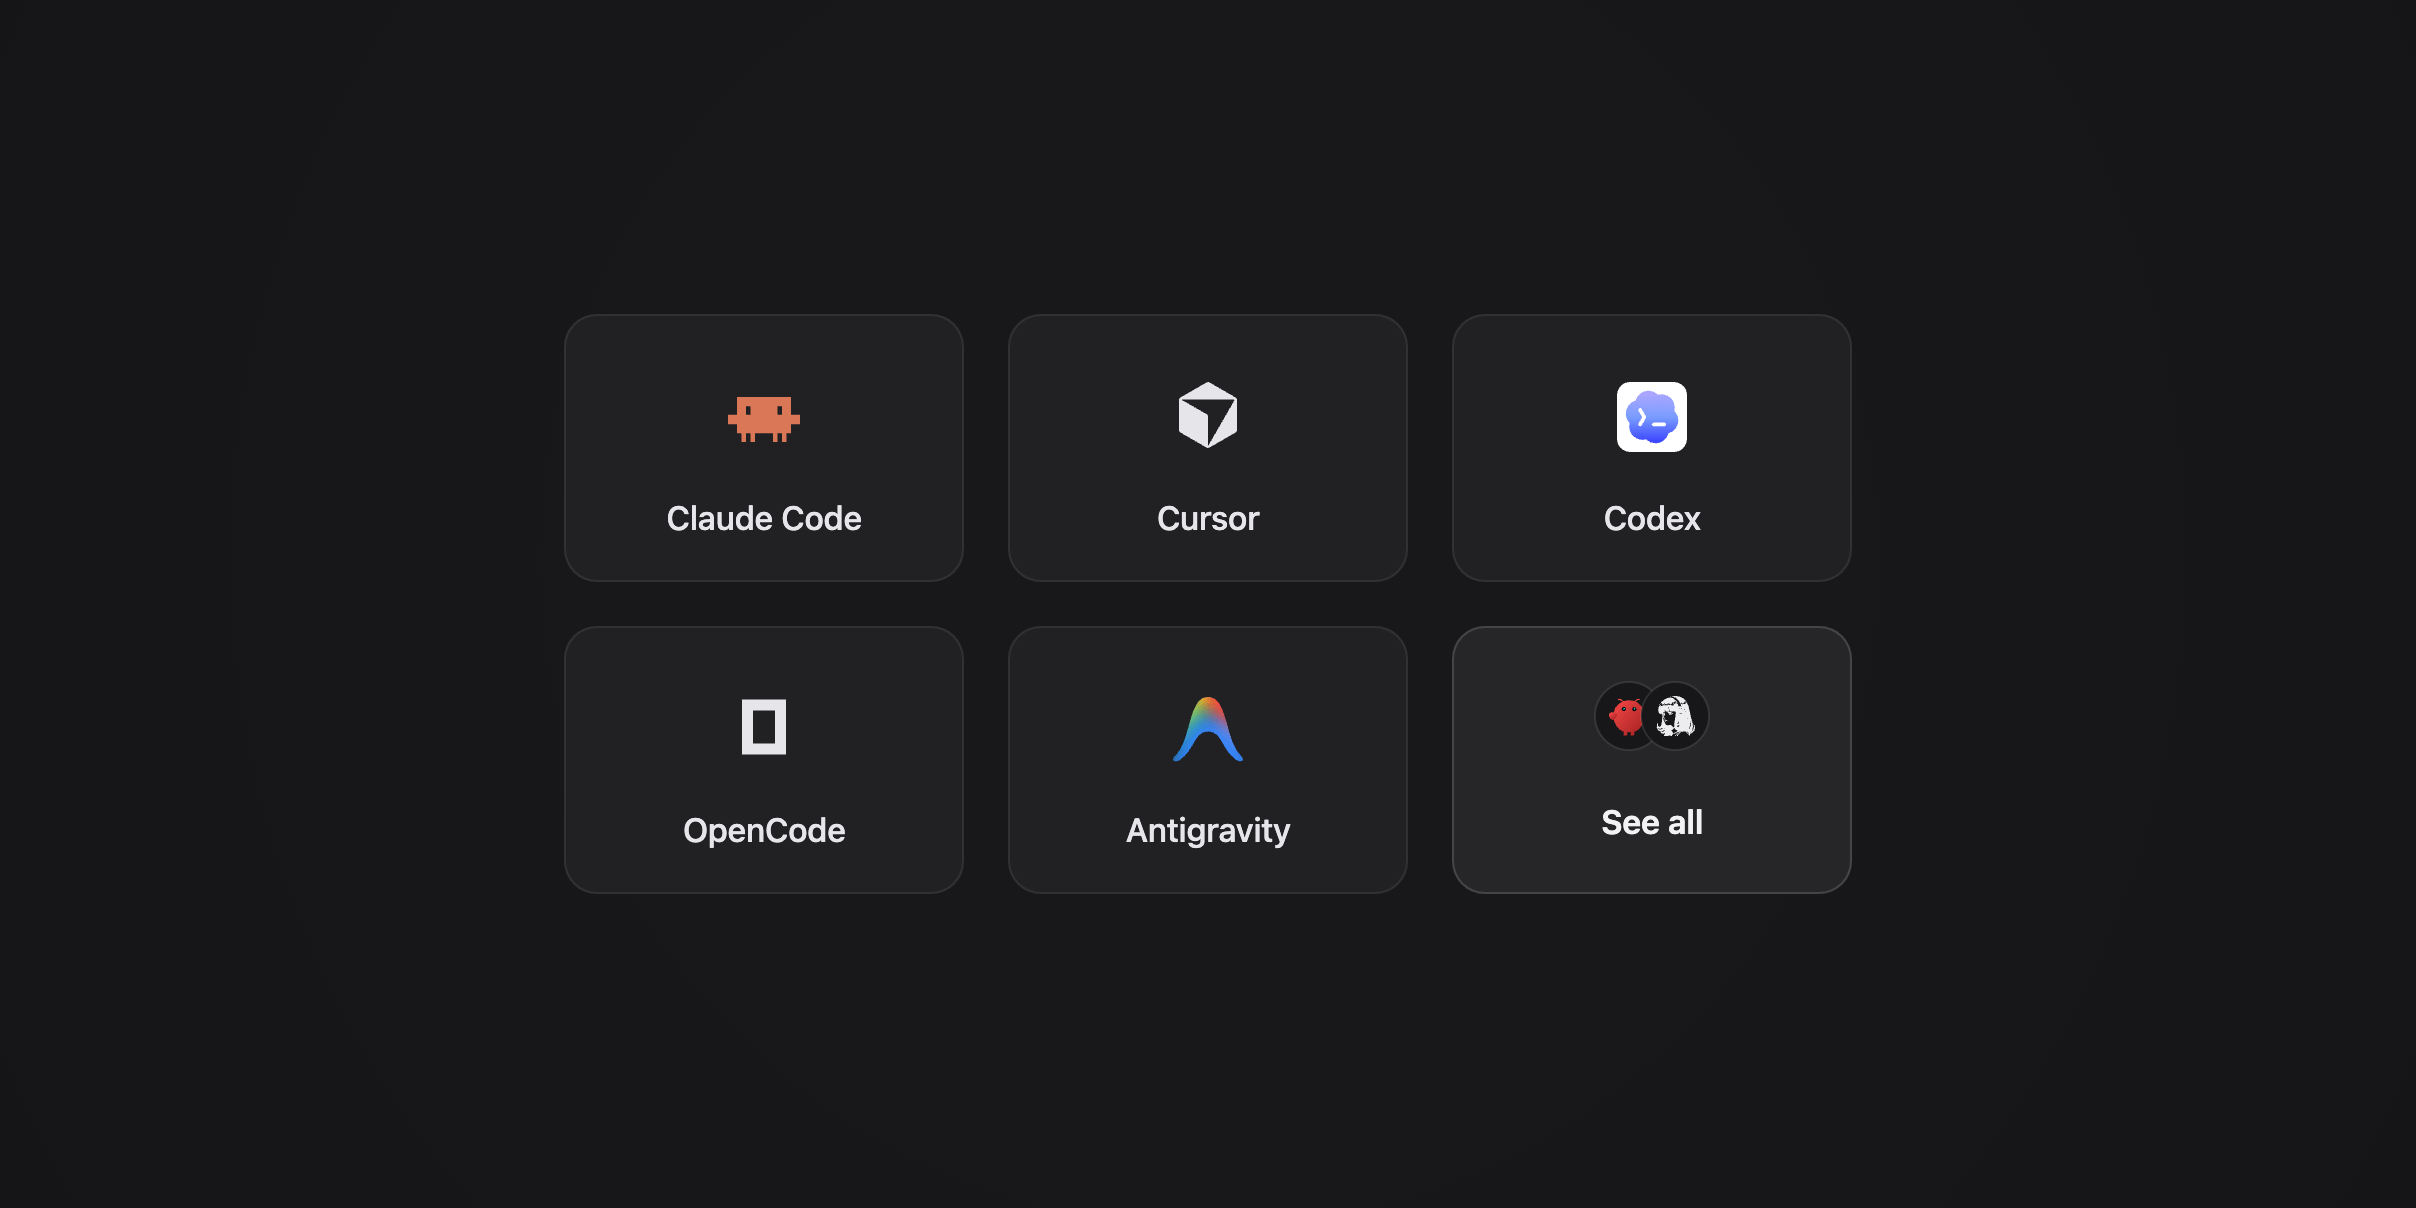
Add memory to your agent
Give Claude Code, Cursor, and Codex memory that persists across sessions. A drop-in plugin, no code to write.
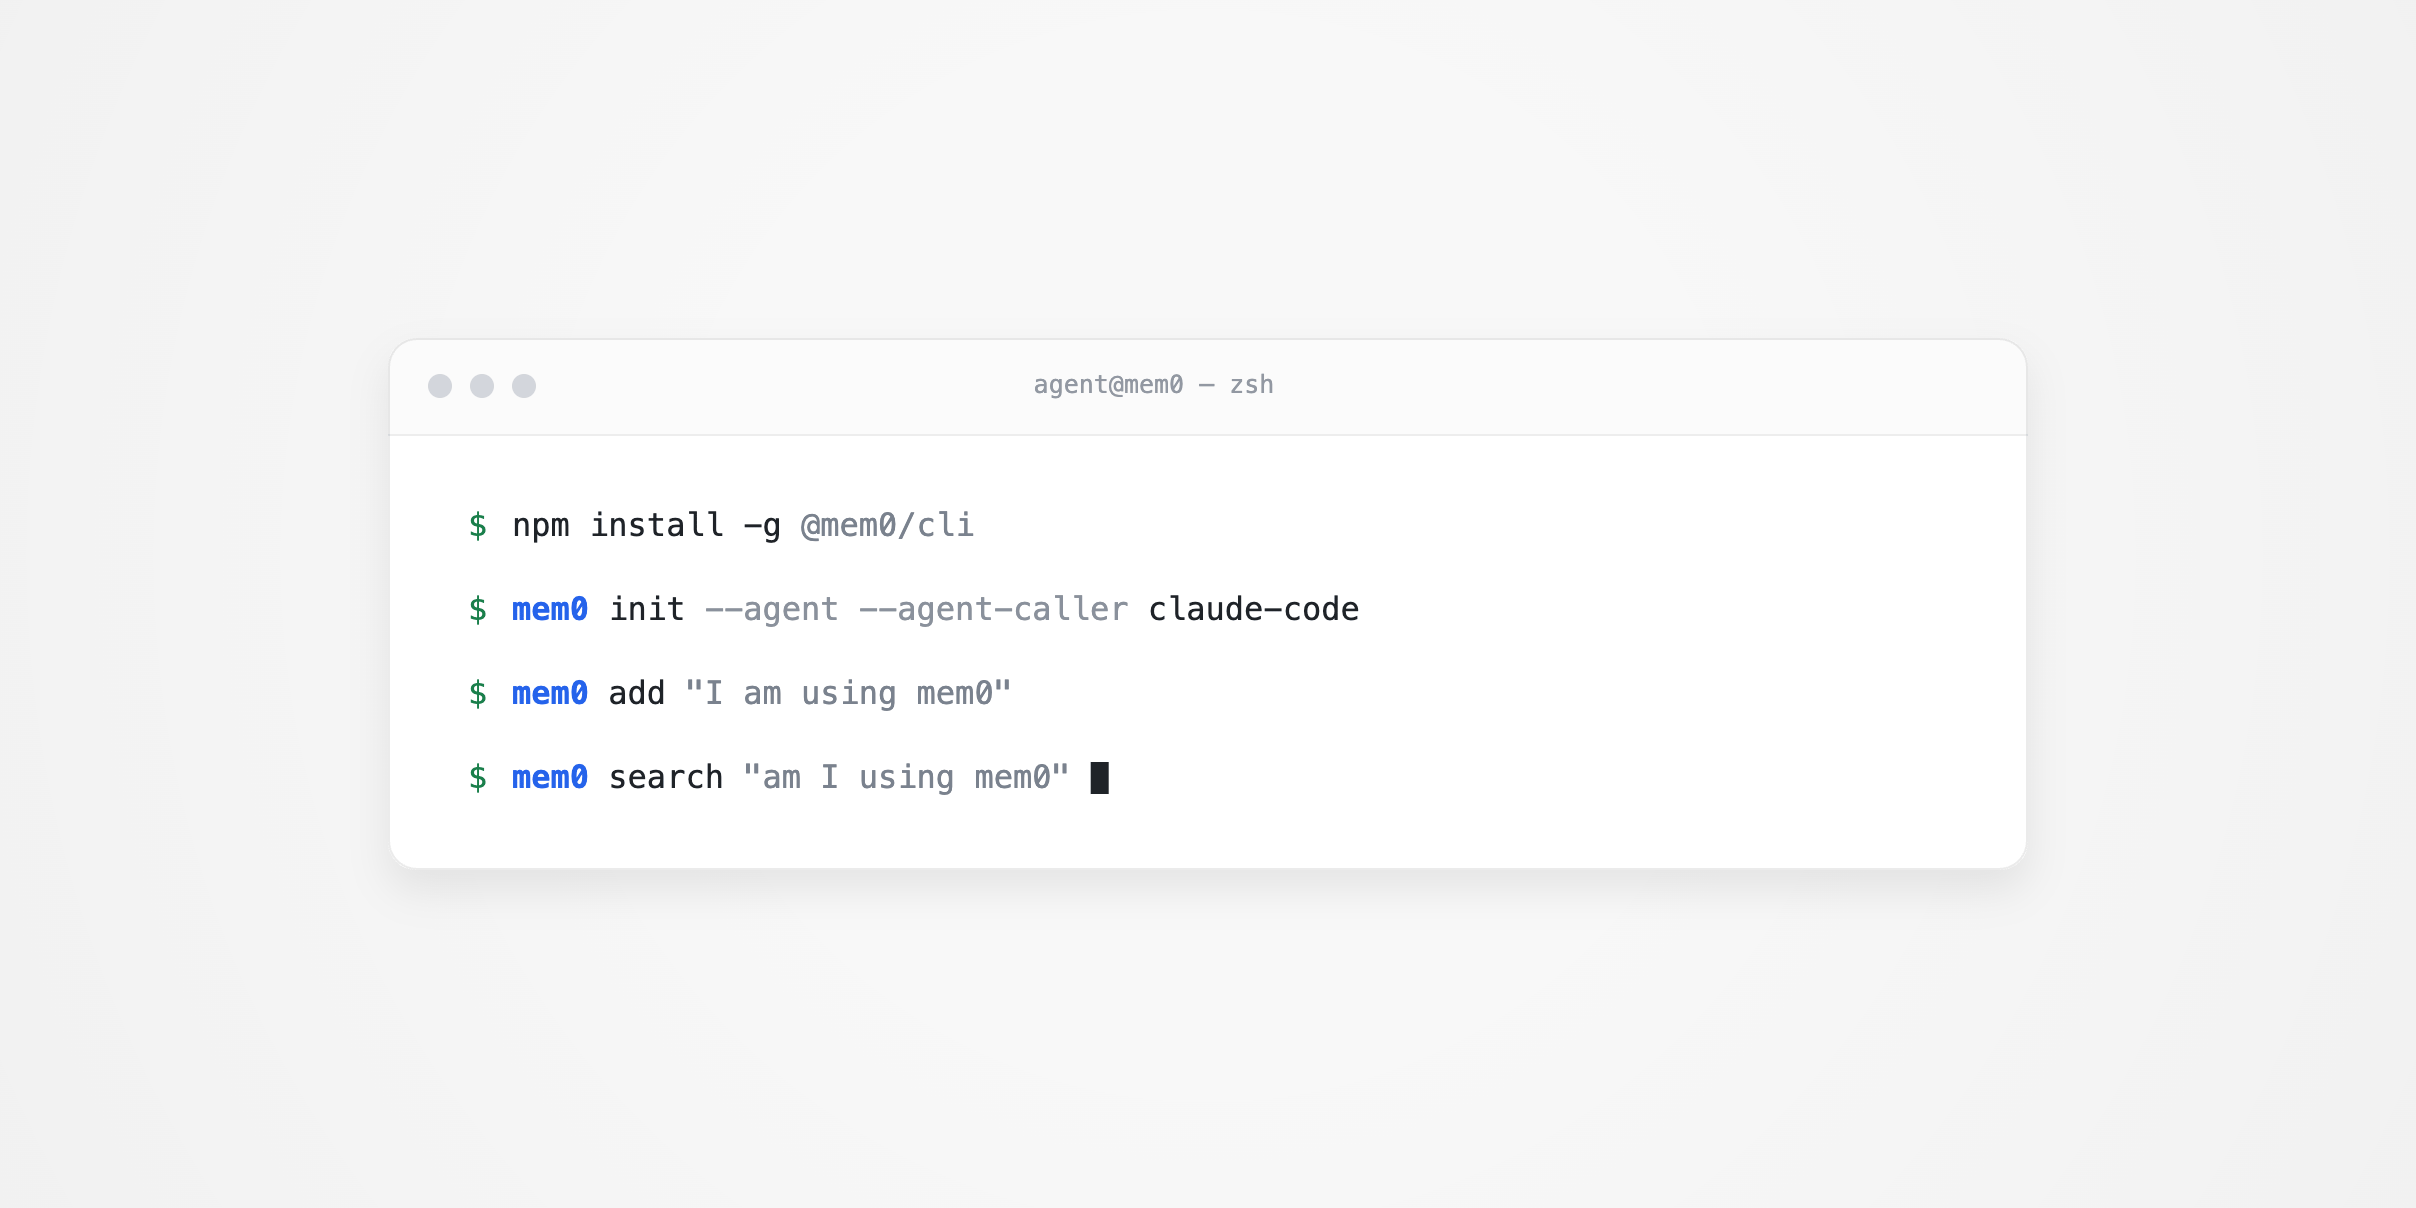
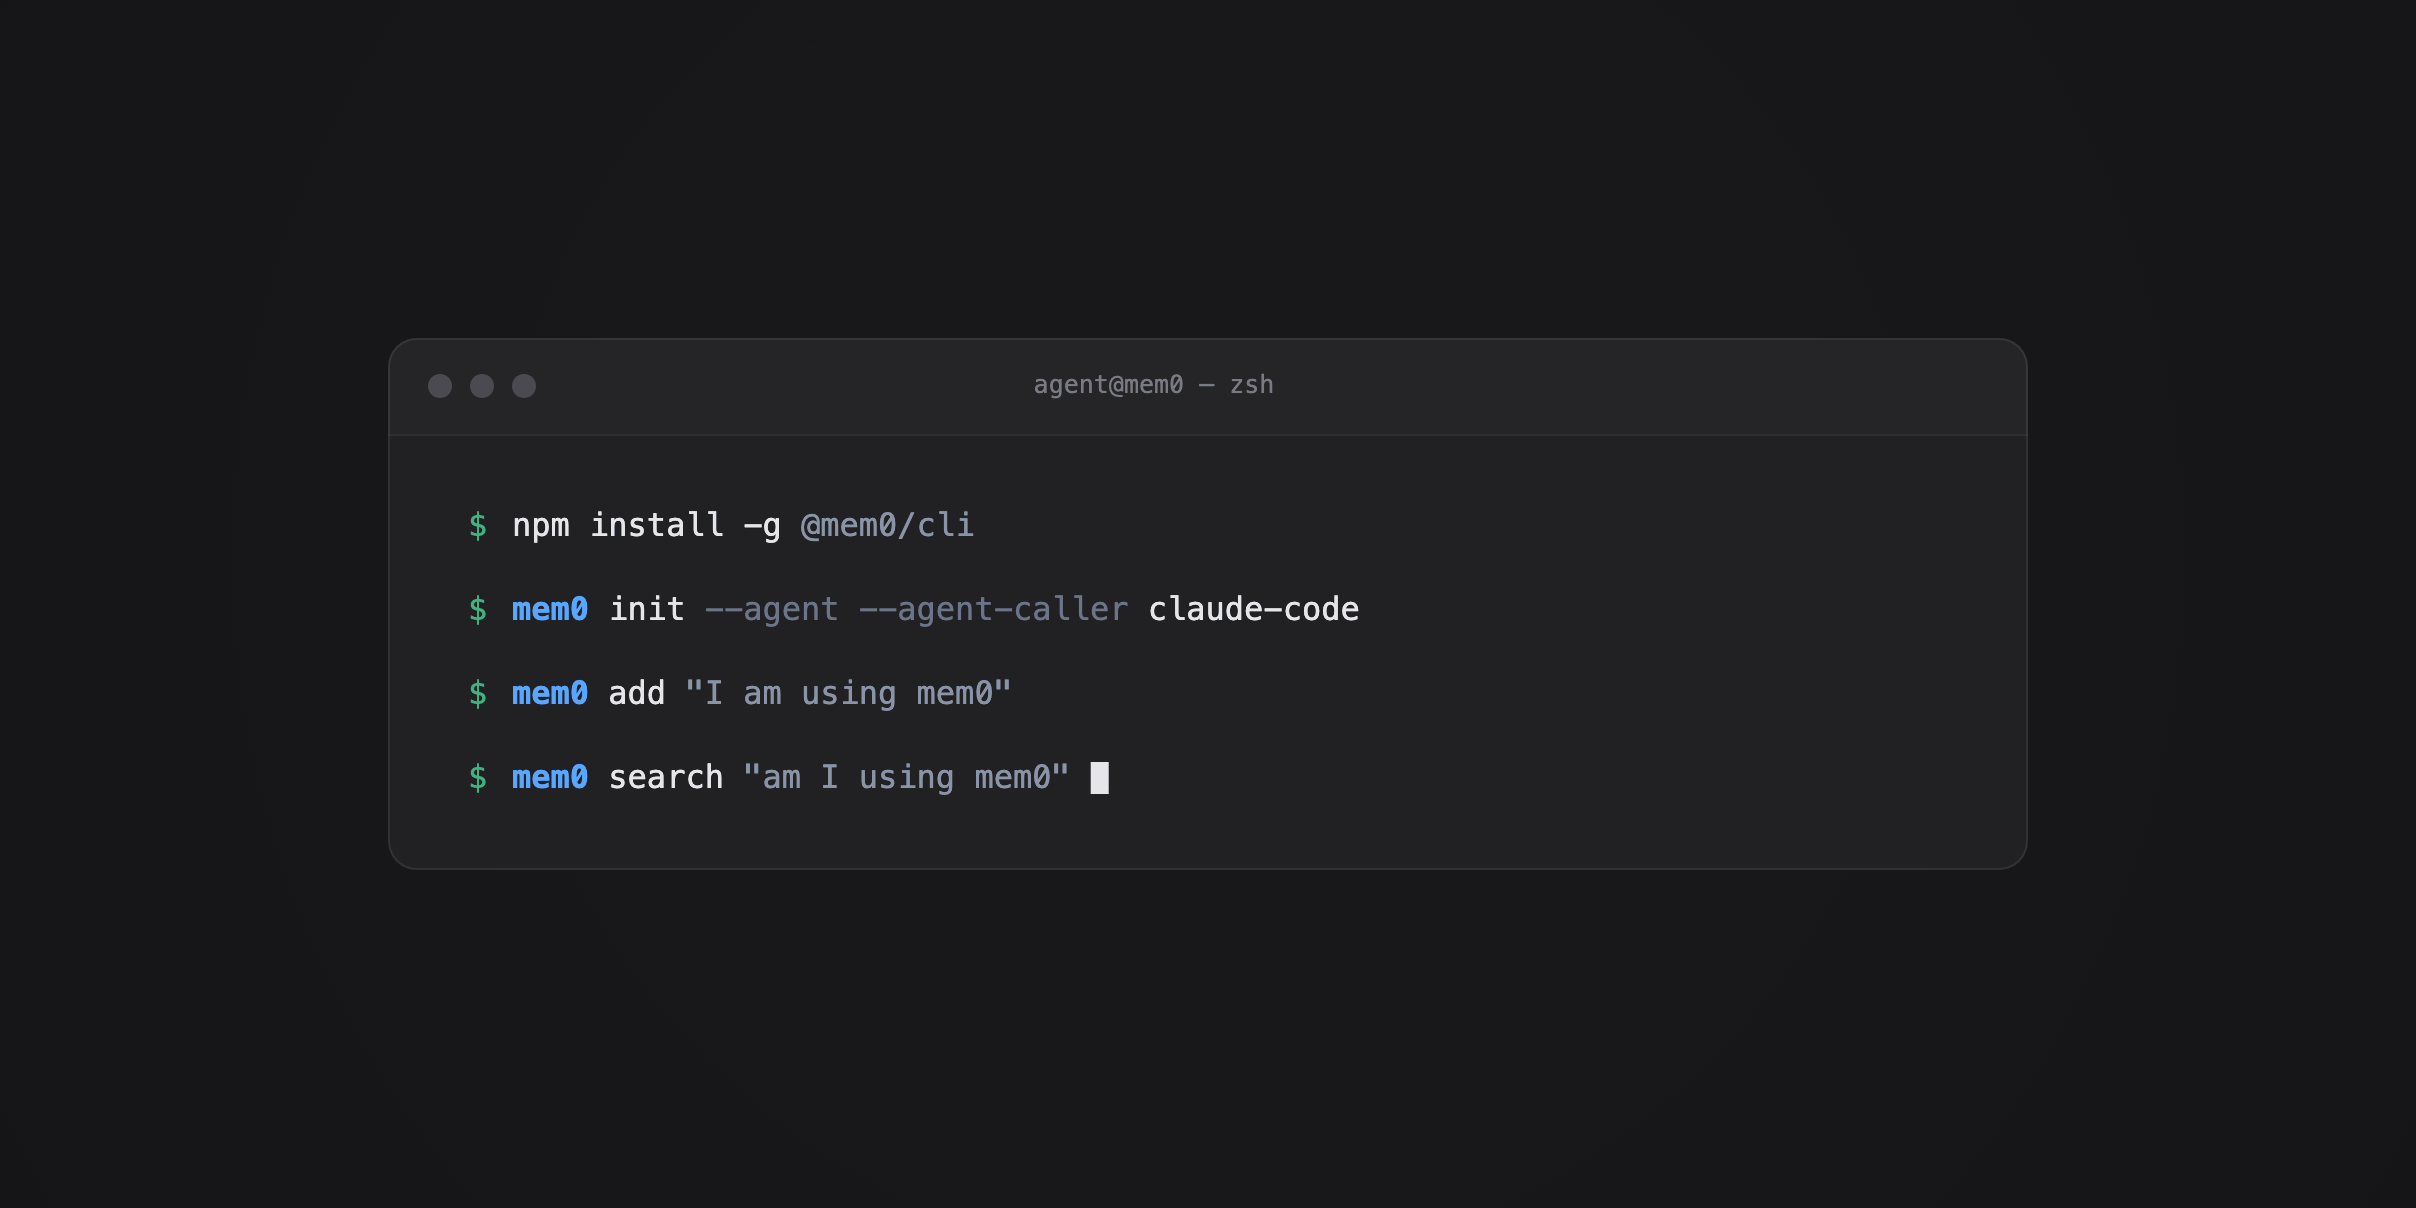
Sign up for Mem0 as an agent
Let an AI agent mint a Mem0 API key, claim ownership later, and write its first memory from the terminal.
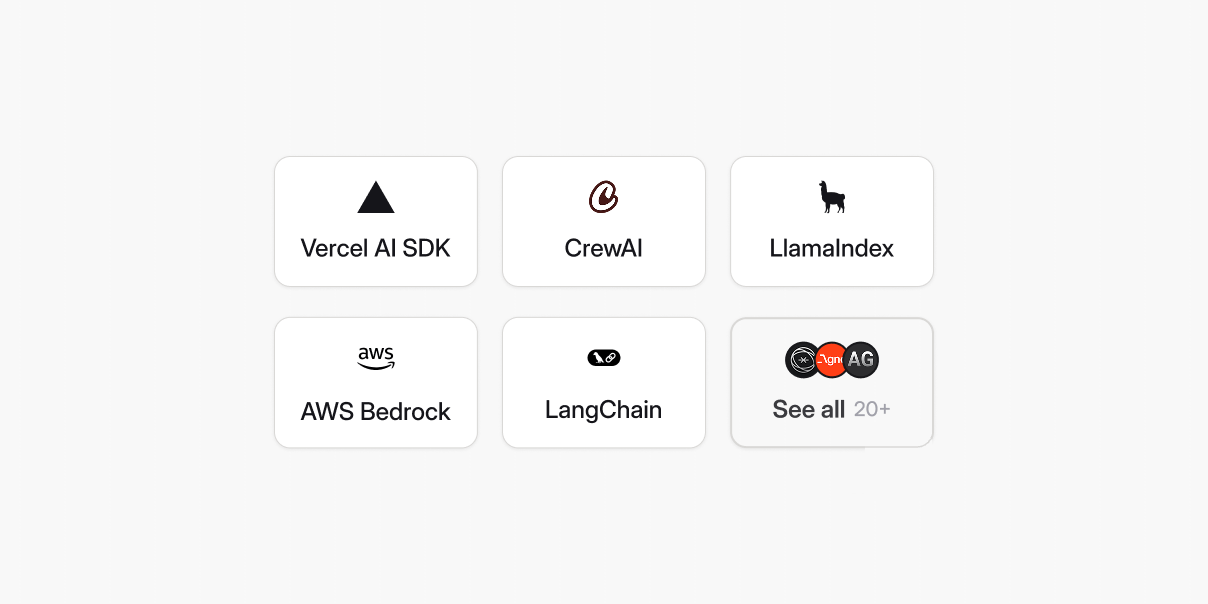
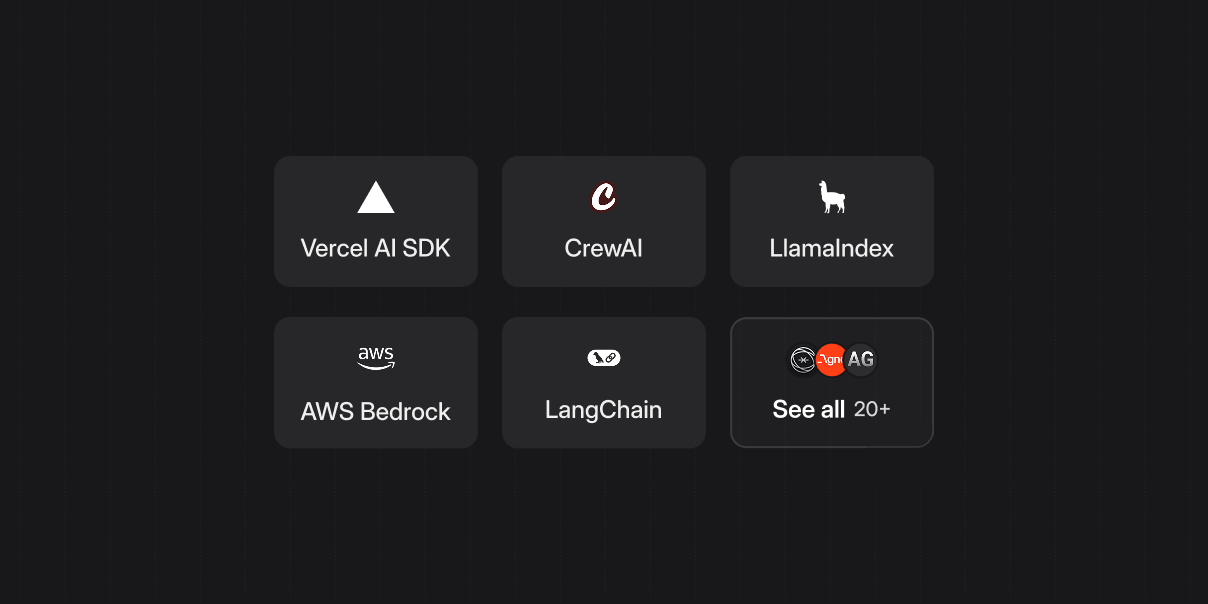
Explore Mem0 integrations
Connect Mem0 to LangChain, CrewAI, Vercel AI SDK, and 20+ partner frameworks.
See memory-app examples
Browse cookbooks for companions, support agents, voice agents, research tools, and more.
Self-host Mem0
Use Open Source when you want memory without the hosted platform.